
Over the last two weekends I have embarked myself on the project of upgrading my yard with a steel pier, on which I can place my astrophotography setup. No longer will I have to risk tripping over the legs of the tripod, and no longer will I have to waste precious time (which could have gone to imaging) polar and star aligning my mount. The telescope pier will be home for my HEQ5 mount for the whole winter, protected by a Telegizmos Series 365 cover. This way I can invest several hours achieving a perfect polar alignment, and then have it untouched for the whole imaging season. During the summer, then, given the lack of dark hours at my latitude, the pier can serve as a base for a nice pot of flowers, so to please the wife!
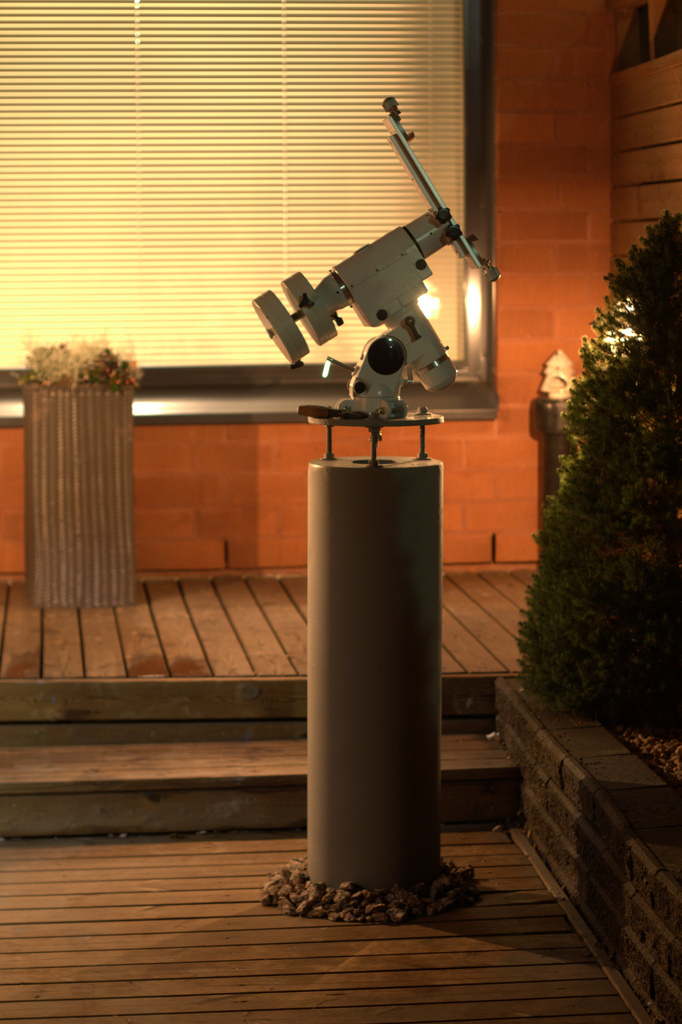
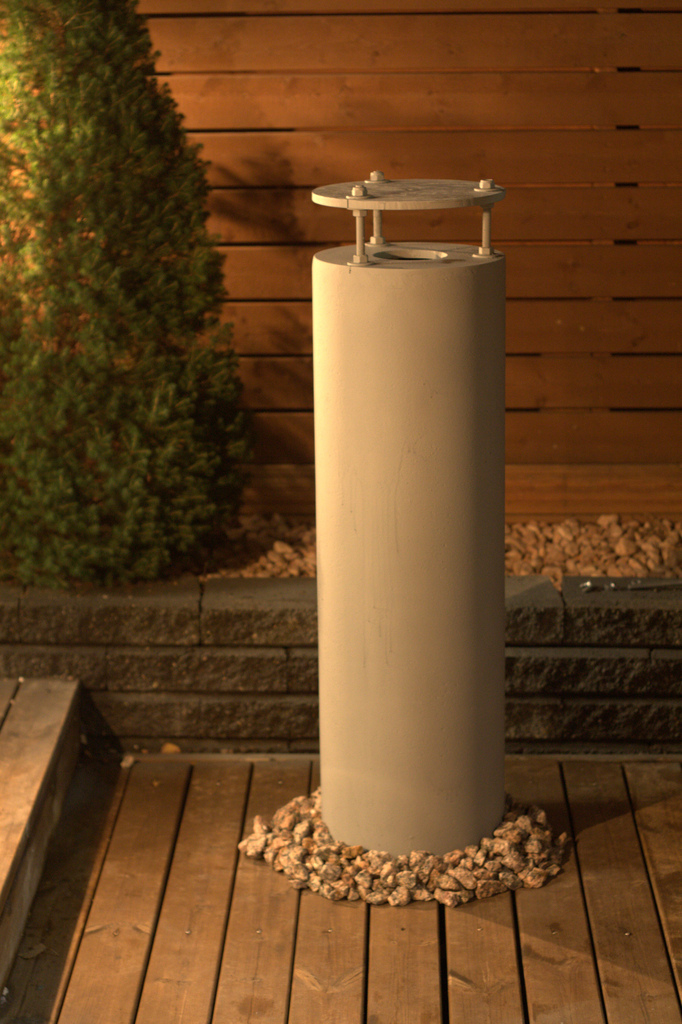
First, enjoy a picture of the finished product, and then I’ll start going through the phases of the construction.
What I needed was a structure that was physically separated from the patio in my backyard, so that me walking there wouldn’t induce vibrations and ruin photographs. I have been researching what other people have been doing, and, unfortunately, creating the whole pier out of concrete (by filling a sonotube) was not viable for me: I wanted something that could be taken apart when, eventually, I’m going to move to a new house. The next best option, then, was steel.
The maximum flex that good astrophotography can tolerate is half of an arc-second. Given the properties of steel, a pipe of about 0.3m in diameter, 5mm thickness, and extruding from the ground about 1m, would have a flex of around 0.3 arc-seconds.
I proceeded with drawings for the steel factory. Since I don’t speak the language of this country well, I did my best to represent everything with drawings, using no words. Here are the parts involved:
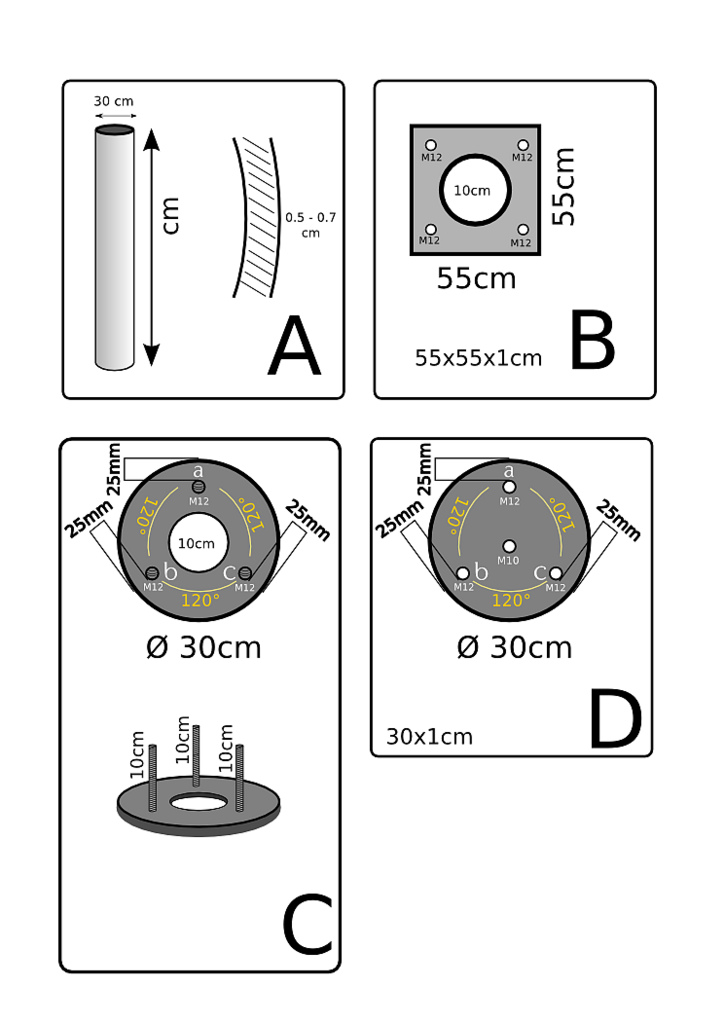
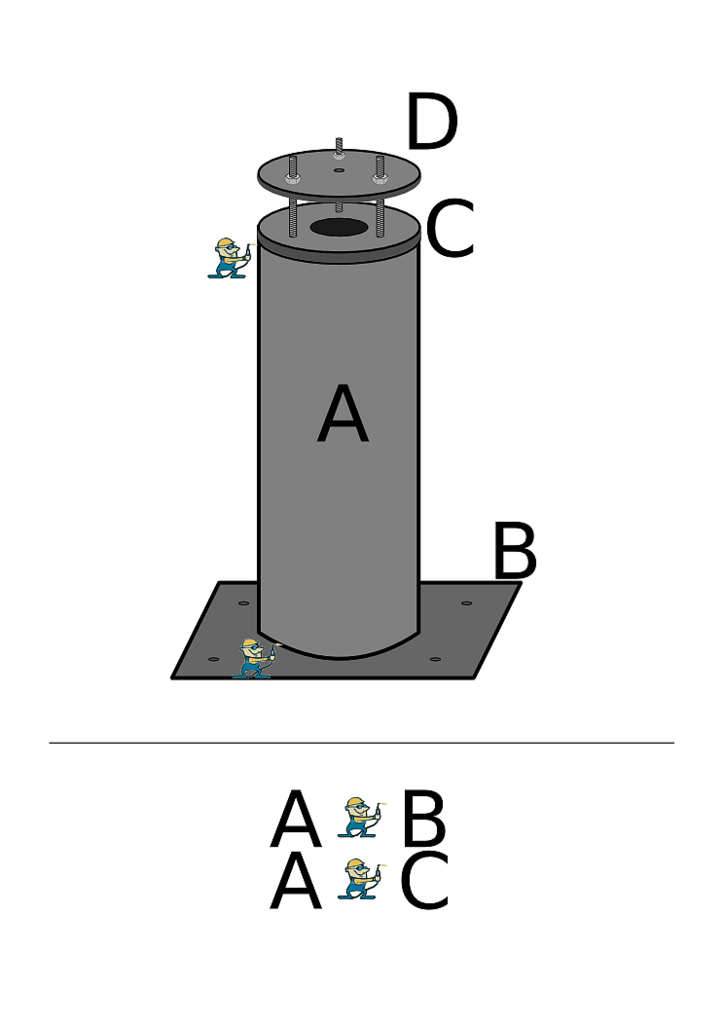
And this is their assembly:
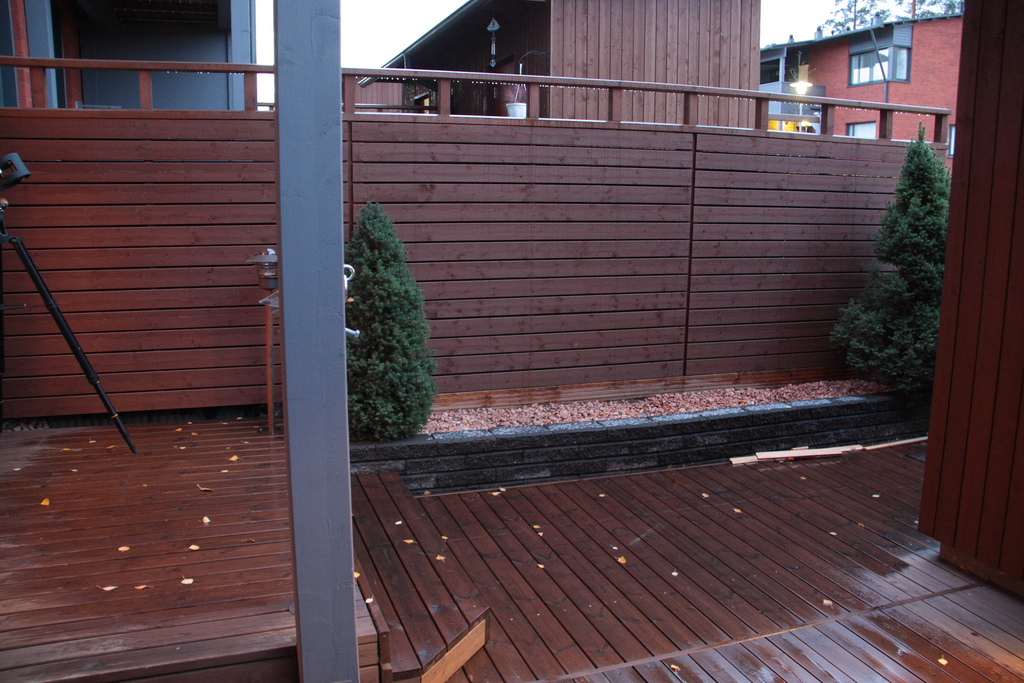
The project started with the goal of identify the sweetest spot in my yard. I had two unfortunate constraints:
- There’s a lamp post only a few meters away;
- In most places around the small yard, the sky view is obstructed by structures like my own balcony and roof, or my utility hut.
Despite the lamp post being a nuisance, It was better than seeing no sky at all, so I decided to build the pier in the spot of the yard that enjoyed the amplest portion of the sky.
So I proceeded to remove the boards that make the patio. Each of them had 4 screws, and, as each and every screw that I have ever encountered, they too were just lousy. Only few boards came out without having to force the stripped screws out.
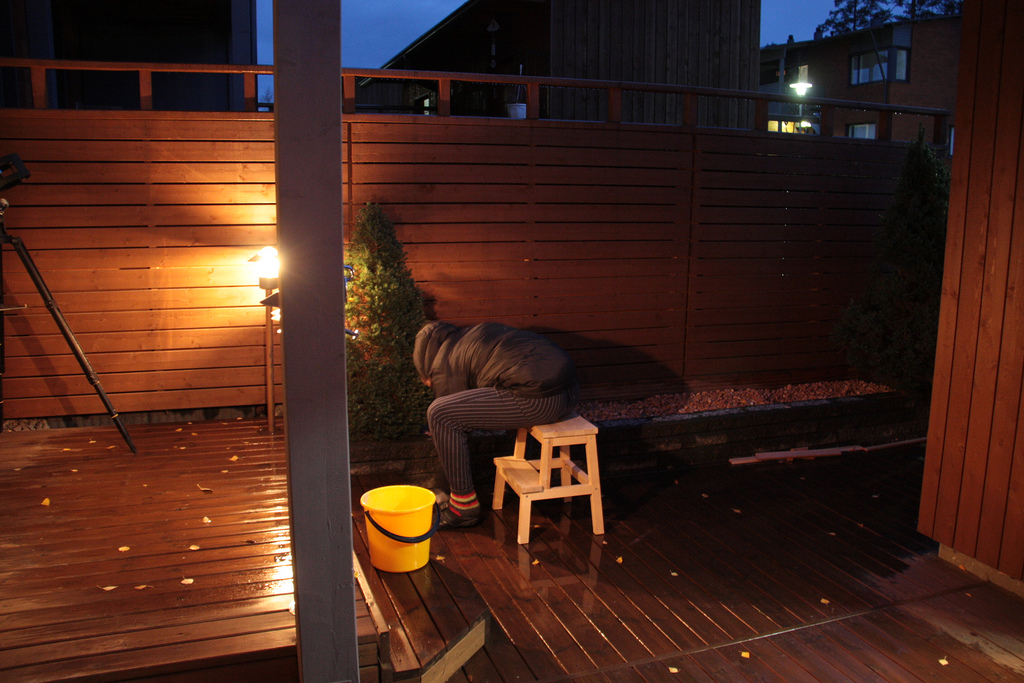
And finally I was ready to start digging!
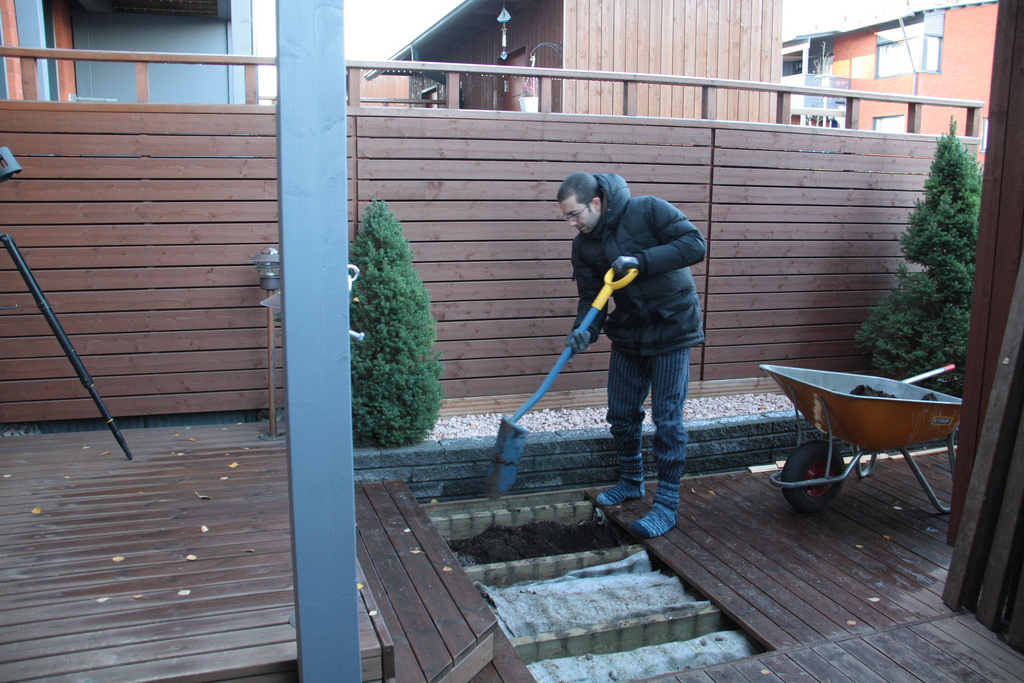
Right under the patio there was a cover, that I guess prevents the ground to get too wet, so I wouldn’t run into freeze/thaw issues. Right under it, there were 15cm of nice soft soil, likely put there in case I ever wanted to remove the patio and grow a lawn. That was dug out easily. Then the hard part started: the soil became really hard, and full of rocks of various size. Lots of pebbles, many fist sized rocks, and a few big and heavy ones, the size of my head. After digging 30cm, I found an insulating layer of polystyrene, 10cm thick. I could remove it by breaking it down to smaller pieces with sharp hits of my hoe. The hard rocky soil continued for 30 more centimeters, and then I ran into another layer of polystyrene. I decided that at a depth of 85cm I could stop digging. The soil looked properly insulated, and it would stay dry; so I didn’t need to worry about getting below the frost line (1.7 meters here in southern Finland).
Mixing the concrete was up next.
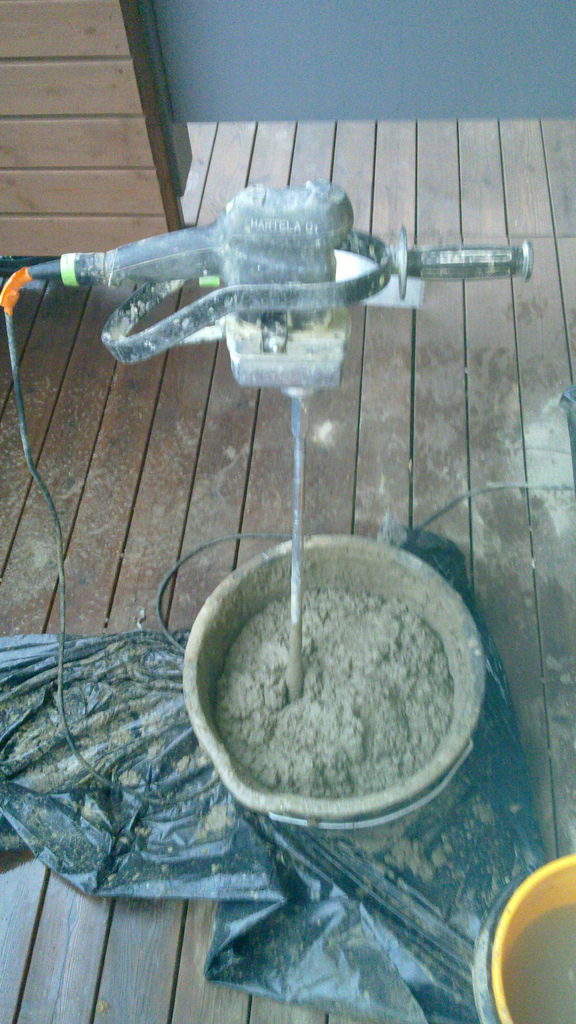
I wanted to have a solid enough base, so that the pier wouldn’t move at all. I purchased 8 bags of 25kg of mixed concrete (that is cement mixed with sand and dirt), and that gave me a foundation that is almost 30cm deep, and weighs almost 300kg. Here it is, poured into the hole:

While the concrete settled a little, I proceeded to zinc the steel pier, so it would resist rust better. That’s my father in law blow drying the zinc:
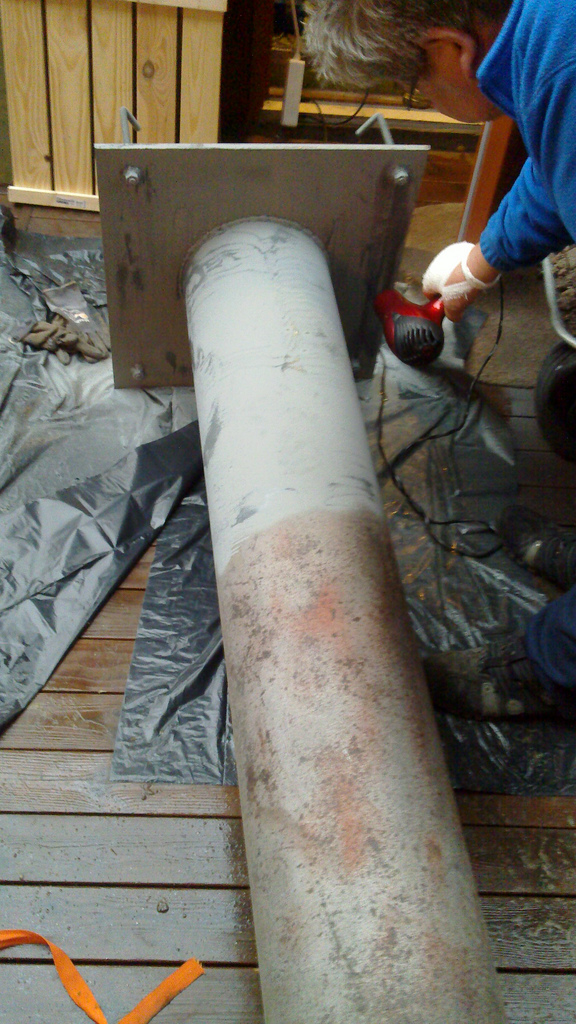
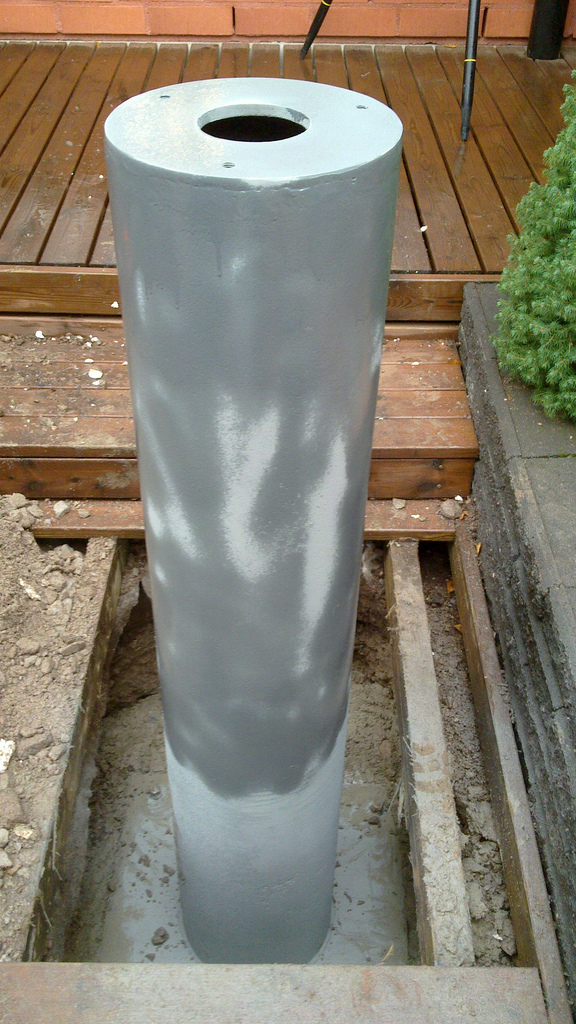
The only deviation from the plan was caused by the fact that people at the factory where I purchased the steel pipe made a mistake. They second guessed my plan and decided to thread the four holes at the base. This meant that I had to screw the threaded rods in the holes right away, and couldn’t simply leave the rods in the cement. Now, if I ever want to take the pier out, I will need to cut the rods from the base. So, with some help, I finally lowered the pier into the hole. There was barely enough room, and it had to be tilted to fit through the two carrying posts of the patio. Here it is, still wet with zinc:
After cutting the original boards so that there would be a hole for the pier and setting them again, after a lot of hard cleaning on the patio, and after placing decorative stones to hide the gap around the pier, here’s the final result:
All I need now is ceasefire from these clouds, and I can start imaging on my pier!