What is a flat field? It’s a picture of a uniformly lit surface, used to correct defects like vignetting, dust on the sensor, mirrors or lenses, and scratches anywhere in the optical train. Astrophotography is really about taking pictures of subjects that are so faint, you will need to stretch the histogram so much that even tiny defects will be able to ruin your image. Considering that you have spent between 4 and 10 hours, usually, just collecting data for the image, and then several hours post processing, taking the time to take good flat frames is the least you can do.
Considering that you usually adjust the focus between different sessions (different filters and/or different temperatures), and often rotate the CCD or DSLR camera to better frame your subject, flat fields must be acquired at every session. For this reason, it’s very important to have a comfortable way to absolve this task.
For a good part of last year, I have used an electro-luminescent foil. I regret to say that, even though the surface was lit in a very uniform fashion, just like advertised, the whole thing was pretty cheap looking. The electric connections were the bare minimum, the wires were thin, and the battery holder and switch looked and felt like a toy.
Needless to say, the thing eventually broke. Granted, it was mostly due to the extremely cold temperatures that made the plastic of the wires very rigid, and therefore prone to rupture. With perfect (dare I say maniacal) care, it wouldn’t have broken; but let’s not linger.
With the new season starting, I have decided to build my own flat field light box, grabbing bits and pieces of various designs I have found on the Internet.
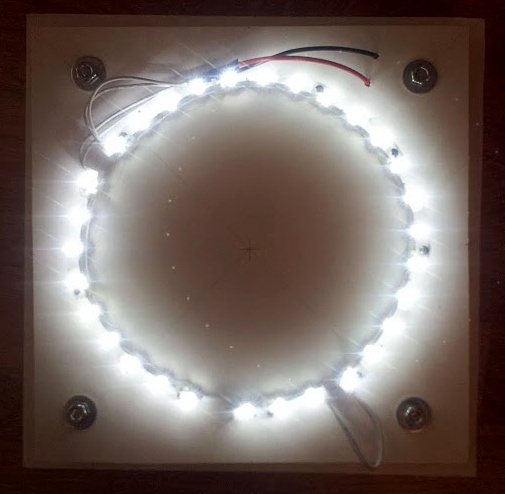
My light box’s vital component is a set of two strips of white LEDs, with a color temperature of 6000K. They are connected serially to a 12v battery pack (made of eight 1.5v AA batteries) and a simple switch. Here you can see them lit:
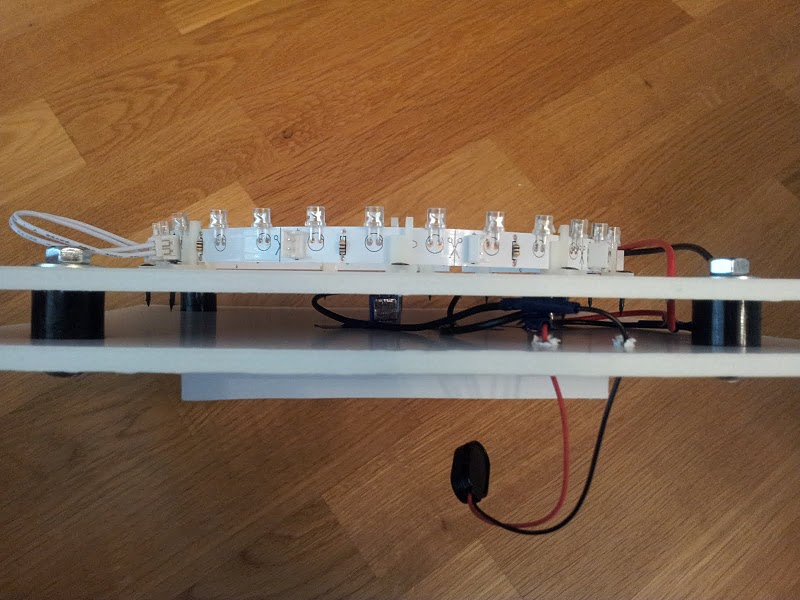
And this is a section of the inside. You can’t really see the electronics, but there’s really not much to see:
The two foam core panels hide and protect the wiring and the connection, and only let the power connector and the switch out.
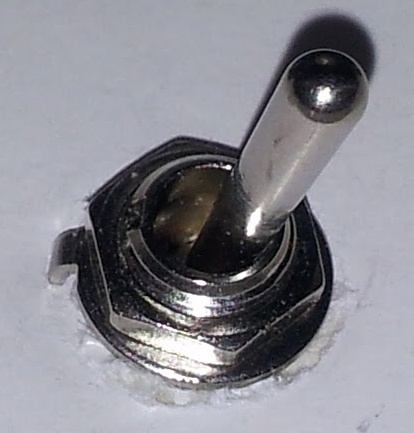
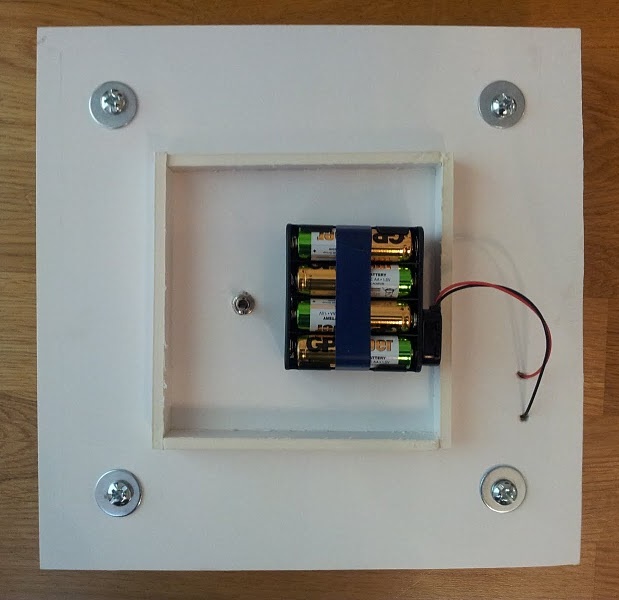
The two panels are connected with bolts and nuts, with some plastic separators to keep them at the right distance. On the other side, which would be the bottom of the box, you can see the switch and the power connector sticking out, and a small frame that prevents the switch from holding the weight of the box.
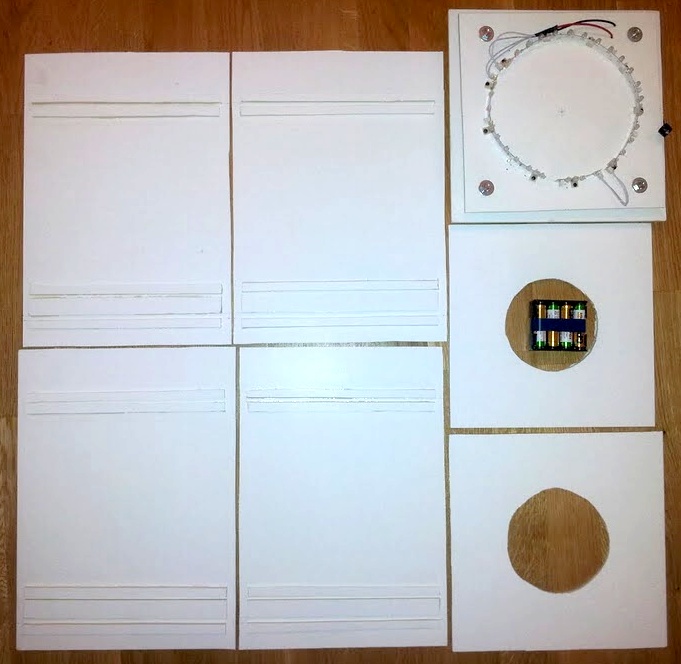
And here are all the components in a big family picture, before the assembly:
Notice how all the four sides have rails in place, that will allow me to slide in the plexiglass light diffusers. The two panels with the circles are the front panel (with the larger hole that lets the telescope dew shield in) and the stopper point, with the smaller hole that will prevent the telescope to slide in any farther.
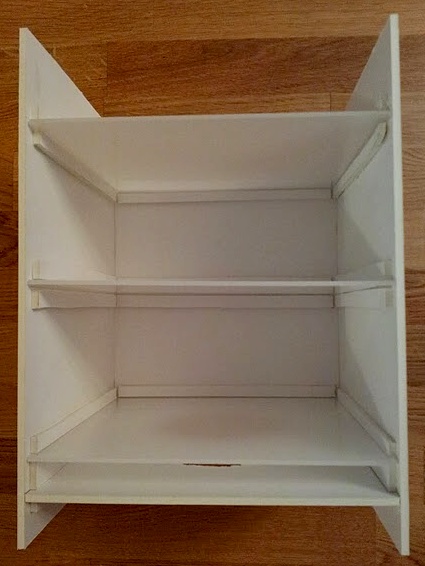
Since taking the last picture, though, I have added a third rail for a third diffuser. I initially planned to use two, but, after some experimenting, it looked like I got a smoother surface with three. Here is the box, half assembled, showing the three diffusers and the panel that stops the telescope’s dew shield from sliding any farther (at the bottom):
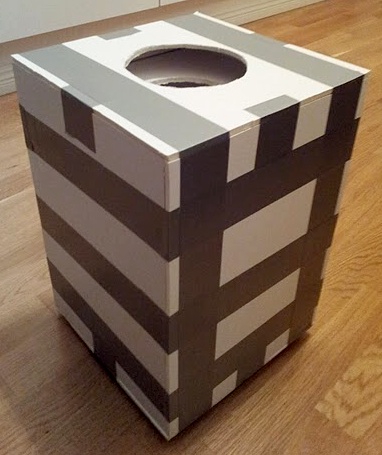
I have used some super glue on the connecting parts, but that was far from enough, so I have used tape to hold the box together. It’s actually a lot more solid than it looks in the following picture:
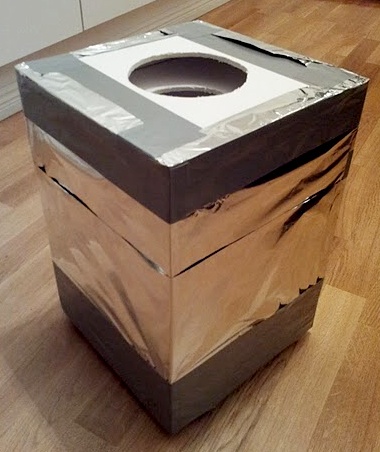
Then, the box has gone through some rounds of aluminum foil, which will keep light infiltrations at bay:
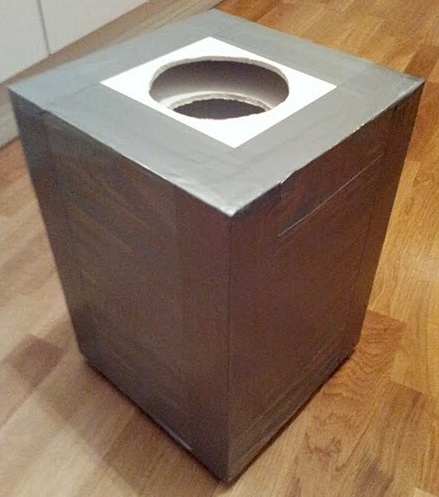
Finally, the box has been completely wrapped into construction grade tape for structural support:
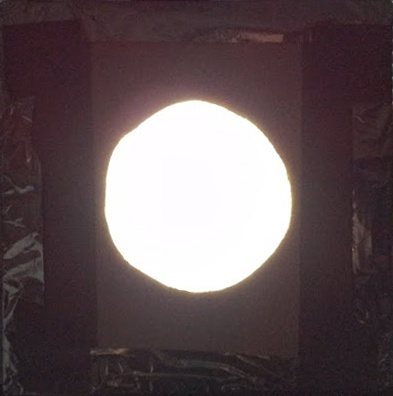
Here you can see the front of the box when it’s lit:
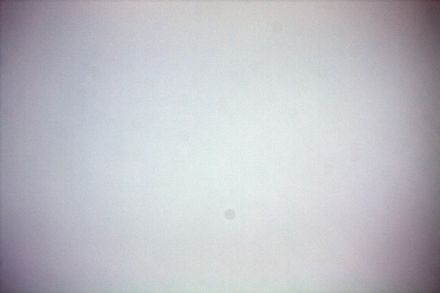
And at last, this is the multiplicative, scaled, non-normalized and non-calibrated, stretched winsorized sigma clipped average of ten flat frames produced by the light box on my ED80 refractor and Canon 450D:

