Because of the incessant troubles I’ve been having with my astrophotography setup as of late, I decided to take a trip to visit the Nerpio establishment.
For those of you who don’t know, my equipment is currently hosted by AstroCamp, and situated at an altitude of 1600 meters on a massive in the south of Spain.
AstroCamp is located in a pristine and remote area, without any light pollution to speak of, and excellent weather (except these past winter and spring, which have been disastrous throughout Europe.)
I had never been there before: for the initial setting up, I simply shipped my equipment over and let them install it for me. However, I took the opportunity to go check out the area and have a little vacation. I also met Samuel, who has been helping me so much with my astrophotography problems.
The trip started last Thursday, May 23rd, with me arriving in Madrid late at night, and Samuel hosting me for the night. The next day we left early for the 5-hour drive across the Spanish countryside, finally reaching Nerpio in time for lunch.
In Nerpio, I stayed at El Molino, a nice, little, cozy hotel/restaurant with some excellent food. However, the only sleep I could get was between 7AM and 1PM, during my three days there.
Getting from the small town of Nerpio up to the observatory required a 4x4 jeep vehicle, and some driving skills. The road is a rugged, menacing serpent, sometimes steep, often treacherous.
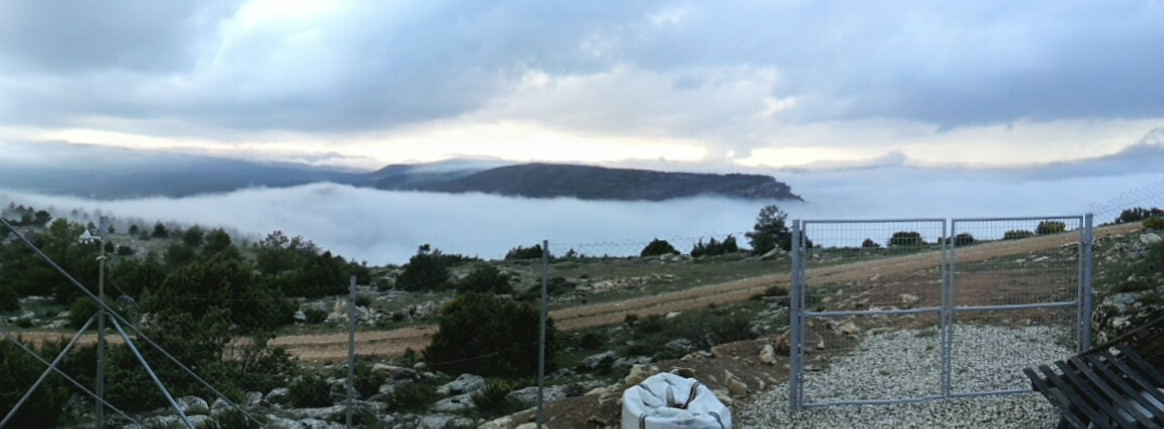
After we left the paved bit behind us, the scenery quickly became that of a harsh, inhospitable land. Reaching the peak meant being in the most remote place I’ve ever been, and the view that presented itself before my eyes was staggering.
The images cannot give justice to the beauty of the land, and I was thoroughly impressed.
The observatory itself was also a pleasant surprise: the two large sheds host a good number of different astrophotography setups. The Software Bisque mounts, the Paramount ME and its new little brother, the MX, dominated the scene, but there were also a few ASA DDM mounts, some 10Micron GM2000 mounts (one of which mine) and a couple of lesser mounts too.
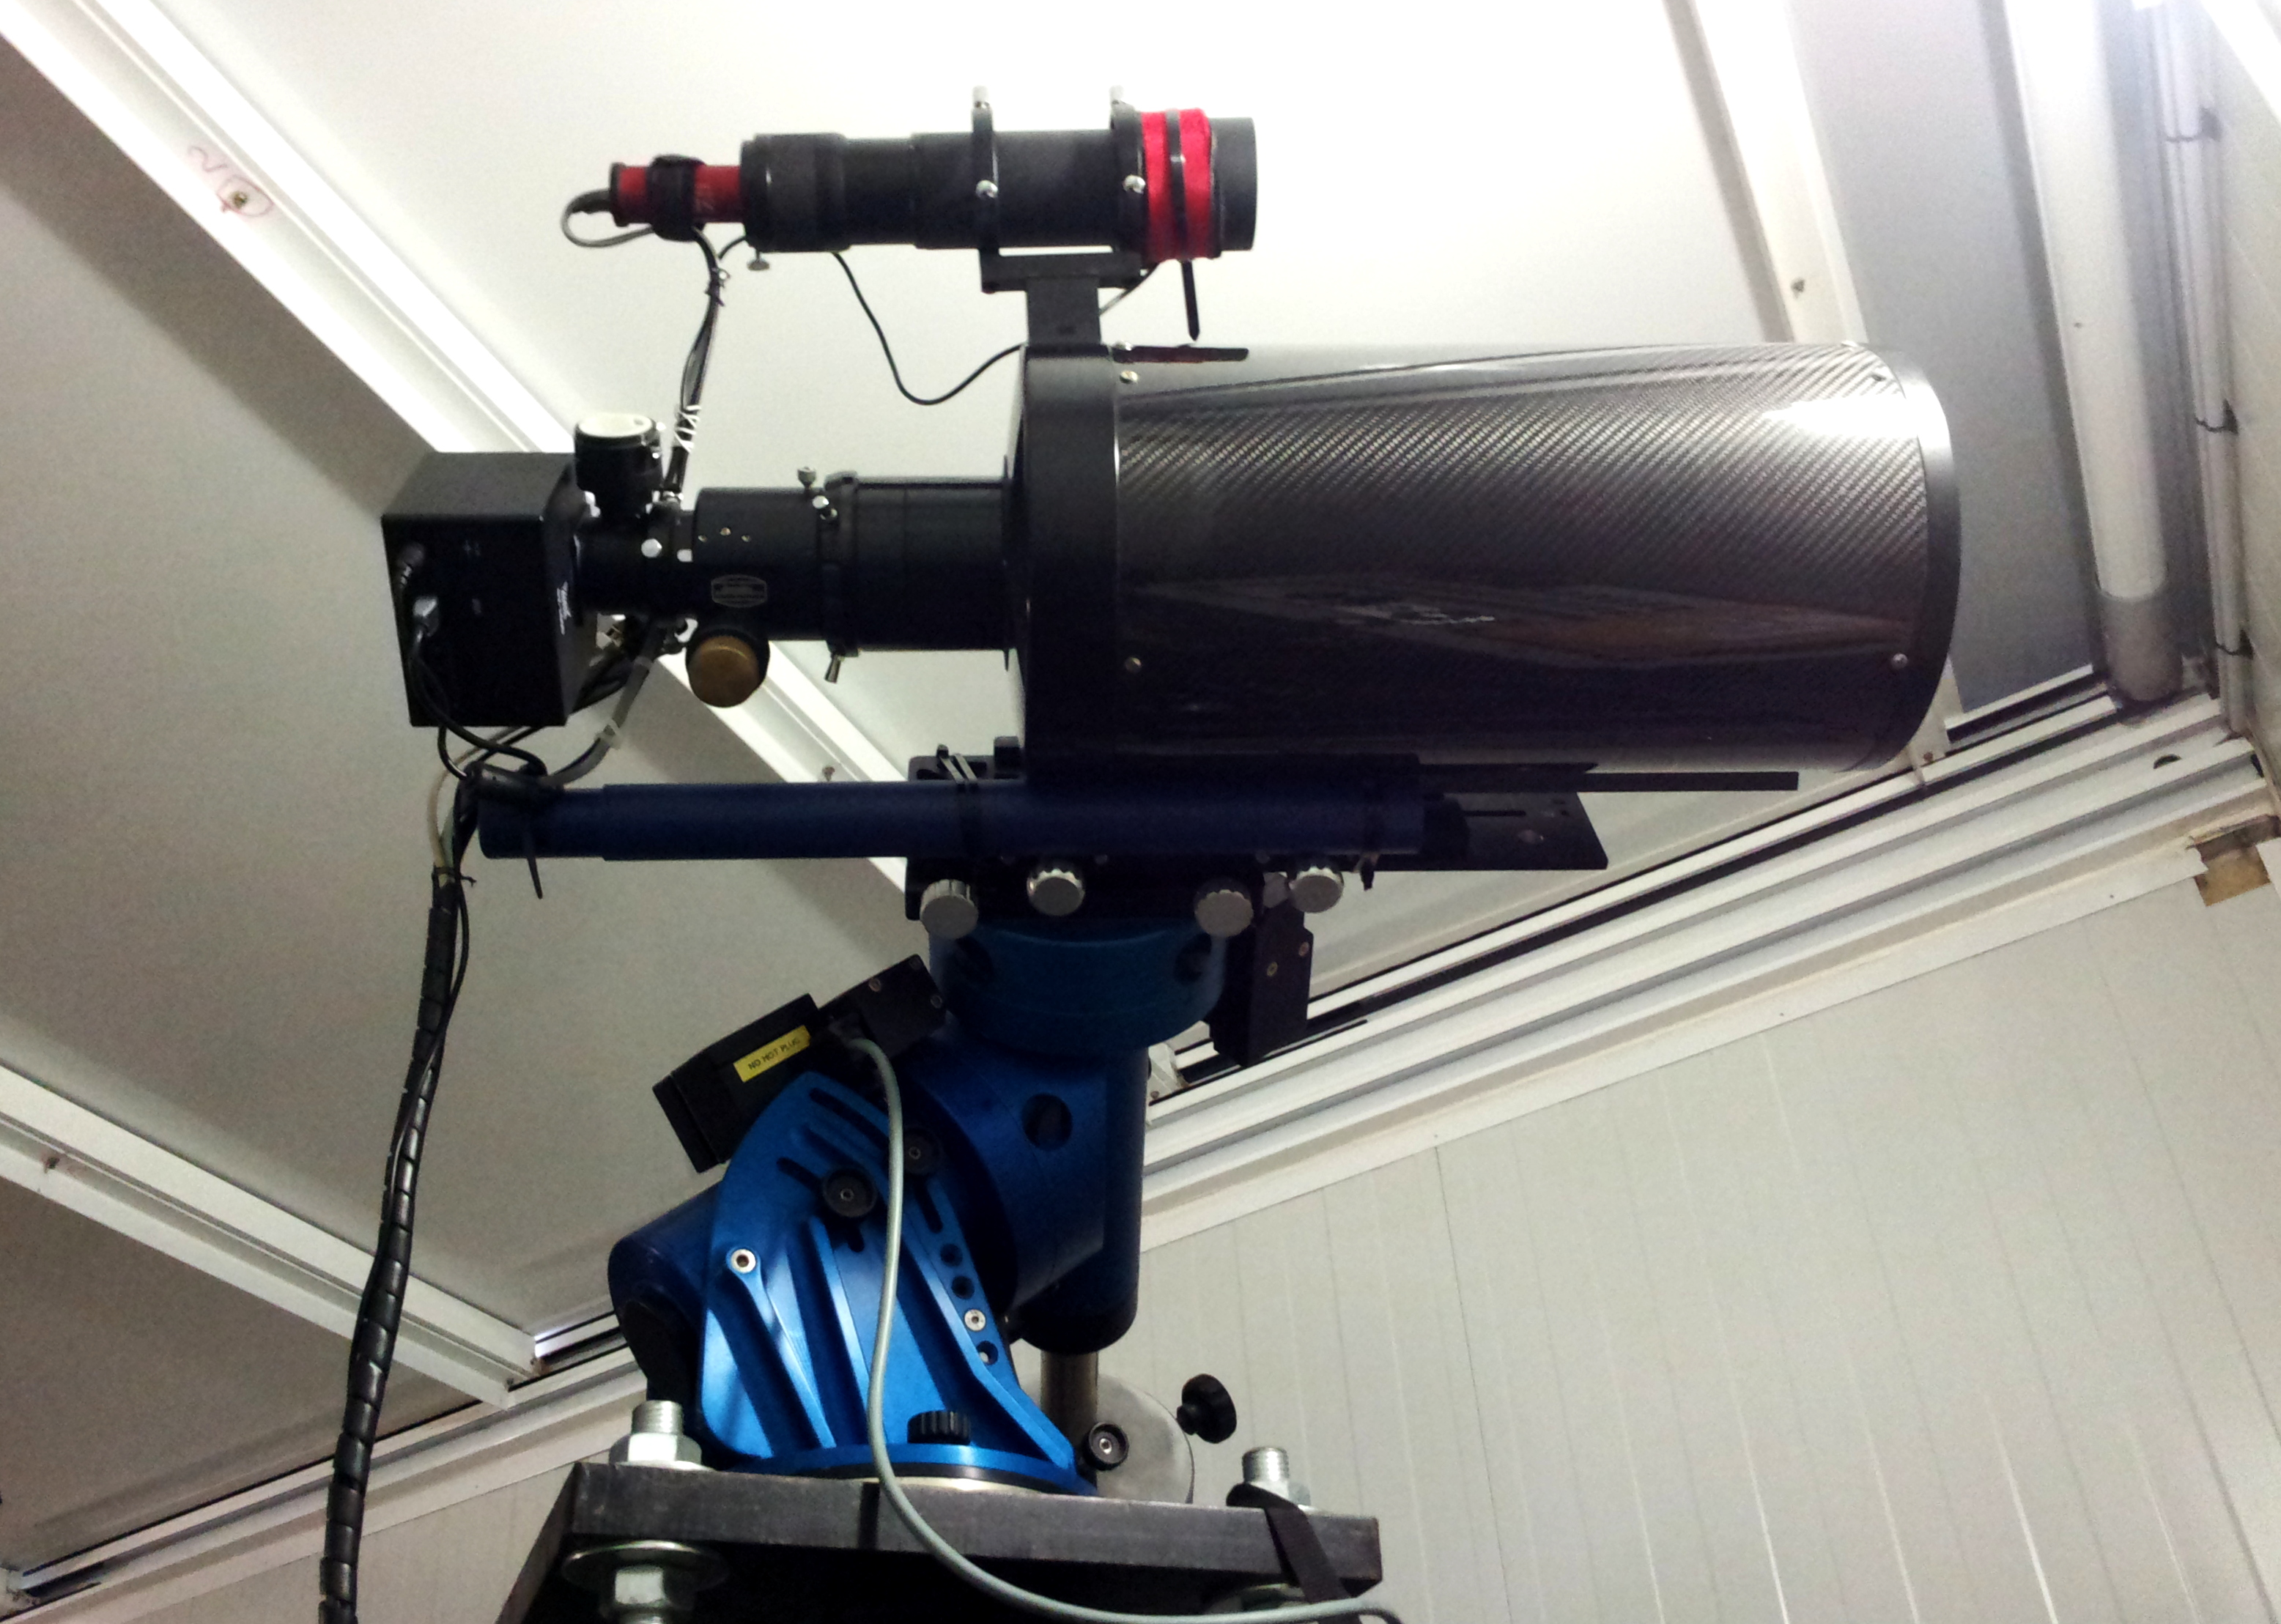
The weekend started well, with me replacing the OAG with a supposedly better one, connecting the mount via LAN in addition to the old serial connection (this step needed to use the 3rd party ASCOM drivers that would allow me to semi-automatically create a thorough alignment model), and doing some nice cable management, which seems to be my second most preferred hobby.
Despite the horrible weather throughout the whole winter and spring, I was lucky, and all three nights offered cloudless skies. The full moon didn’t bother me because I was there to fix my setup, not gaze at the star.
Something I wanted to test, as soon as possible, was weather the poor performance I was getting from my OAG guiding setup was due to an incorrect mounting of the OAG itself, or something wrong with my SBIG ST-i guider camera. The problem was that finding a guide star was absolutely too difficult, and it just didn’t look normal, to me, that the guider camera would offer so little sensitivity.
So I tried to swap my SBIG with a Starlight Xpress Lodestar, which is renowned for its sensitivity. However, to my complete dismay, I was unable to install the Lodestar’s drivers. This task would take the bigger part of the night and the next afternoon, which is something I find utterly unbelievable.
I spent the night improving my polar alignment (it only took 10 minutes and I got down to only 34”!) and constructing a full alignment model for my mount.
The next day, after I finally managed to get the Lodestar working, it was prime time: the most important thing was to figure out why the my guiding yielded elongated stars. You can read my previous posts on this blog, but it boils down to there being star elongation along the RA axis, and nobody knowing why.
After a quick test, I was deeply saddened to find out that the problem was not gone. On the contrary, it had slighlty worsened! As dawn put an end to the aspirations of my guiding setup, Samuel and I headed down to El Molino to rest for a few hours.
On the next, and final, day, I stiffened my setup using a plastic bar: connected directly to the Losmandy plate, it extends directly below the main imaging camera, and all the cables coming from both cameras are fixed to it. This way, the pull of the cable can’t generate differential flexures of sorts.
To completely rule out the possibility of differential flexures, I also borrowed a small Lunatico EZG 60 guide scope, so that I could test the guiding both from the combination of the Lunatico with the SBIG ST-i, and the OAG with the Lodestar.
With the night closing in, after a very strong, and sometimes scary hailstorm, I was ready for the final tests. There wasn’t much time, though, because the next day we were due to leave very early, so I could catch my flight.
The first thing I learned was that the SBIG ST-i is indeed a great disappointment: the Lodestar could show a lot more stars, when using the OAG on a random patch of sky. I moved the telescope around and saw that with an integration of only 5 seconds, the Lodestar could always find more than one suitable guide star. That was good news.
After performing a perfect balance on both axes, focusing both guider cameras and centering the small Lunatico guider scope, I attempted to guide. Unfortunately, with both options, the result was the same: a good and flat declination graph, but a bad one on the RA axis. The star elongation was not fixed.
I tested guiding both at 0.25x and 0.50x (with 1 being the sidereal speed), with the same poor results.
Exhausted and out of ideas, I had to call it a night and decree the end of the trip.
What’s in the future? I firmly believe that the equipment is now perfectly placed, properly stiff, and requires no actual physical changes. This morning, as Samuel and I were driving back to Madrid, I had an idea that I couldn’t have had on the previous night, for how tired I was. My mount has a parameter to calibrate the response to static friction: that could be why the mount seems to overcorrect during the guiding, which yields to poor results.
I’m going to have to wait the next clear night to check it out, otherwise I’ll ask Ivan Mariotti, of 10Micron, to help me out.
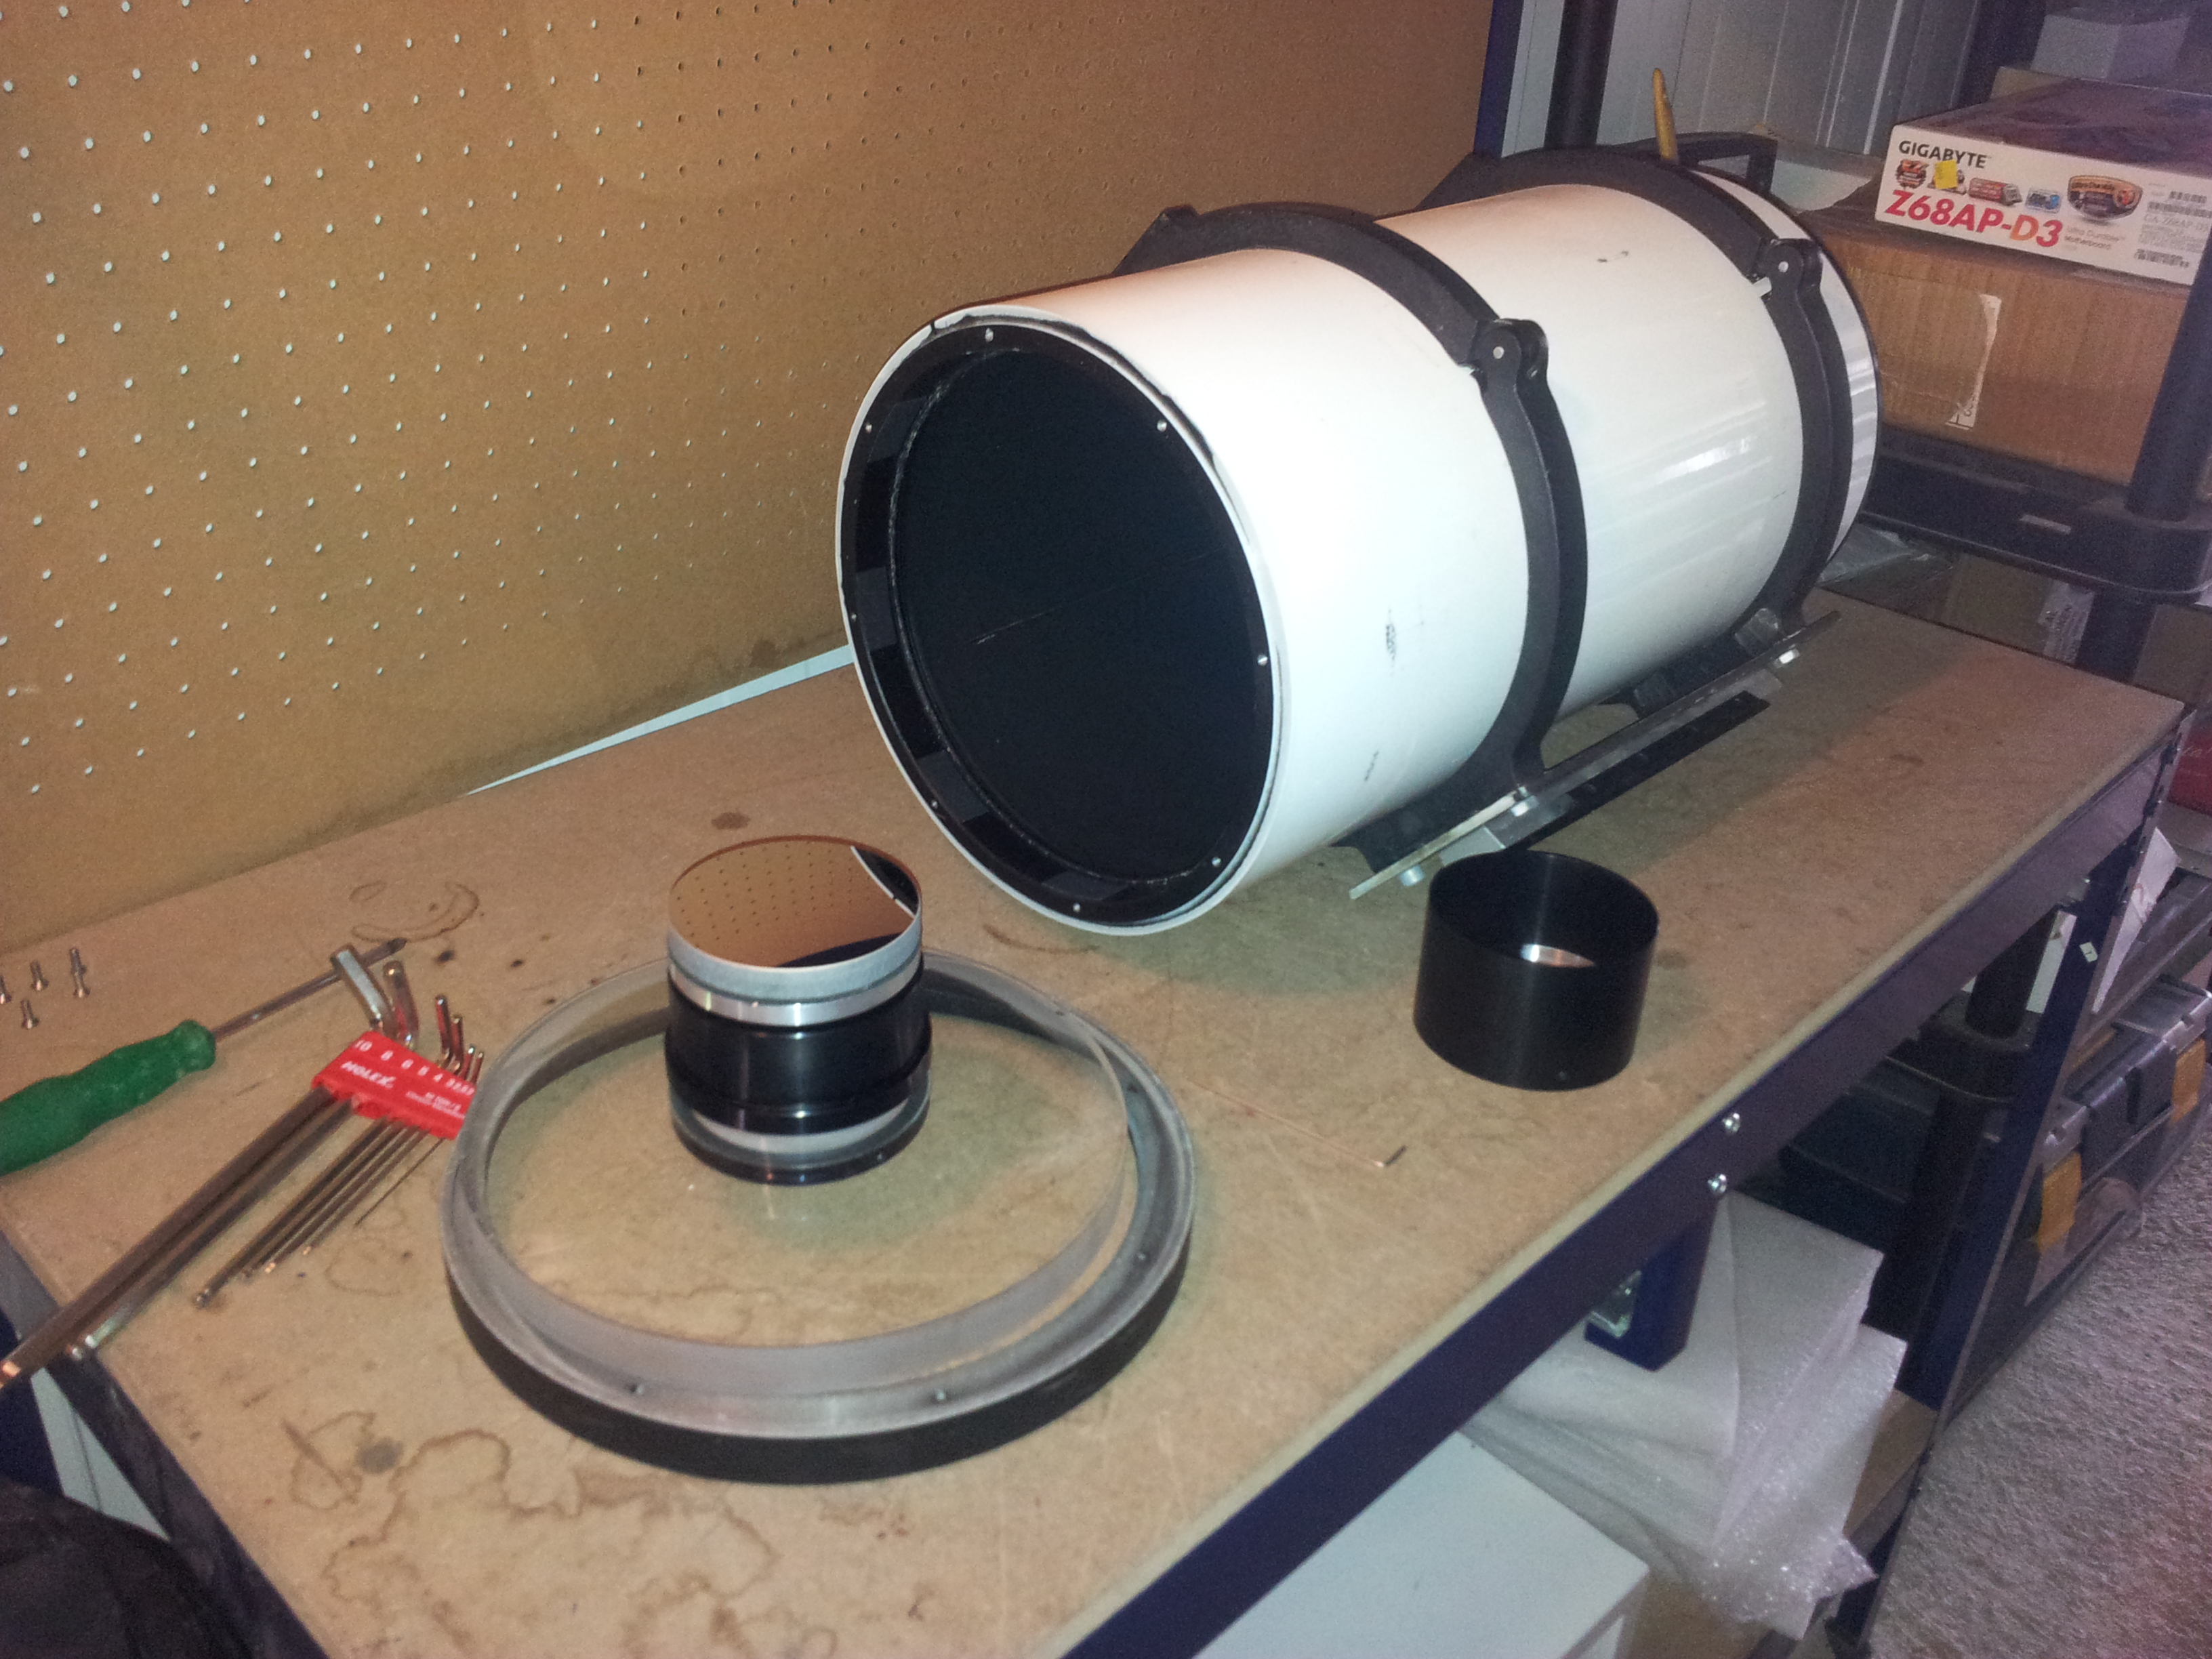
One last paragraph goes to the Simak 240. I could spend many hours, during the day, trying to troubleshoot the optical issues I’d been facing with it. The final verdict is that the most serious problem is with the focuser, a JMI EV2, that has a very poor axis alignment, and that would cause optical tilting and astigmatism.
Moreover, somewhere in the optical train, there is pinching and more tilting. It’s impossible to correctly align the front meniscus, because even slight different in the tightness of the screws would produce visible optical defects.
I don’t think this is a telescope fit for astrophotography, unfortunately. Or it might be, but only if you are ready to do some tuning and troubleshooting as you go. With me being over 2,000 km away from the observatory site, I’d rather have a setup that requires a little maintenance as possible.


